The Honda check engine light is a warning that there’s an issue with the car’s engine or emission system. This light shows that the onboard diagnostic system has detected a fault.
The check engine light serves as a critical warning system, notifying drivers of possible issues with the vehicle. The common reasons for Honda check engine warning lights are faulty oxygen sensors, mass air flow sensors, failing catalytic converters, and more.
In this Dbd guide, we have included all the information on the causes of the Honda warning light and its resetting process. We consulted with manufacturers and mechanics to identify common problems and solutions.
What does the Honda check engine light mean?
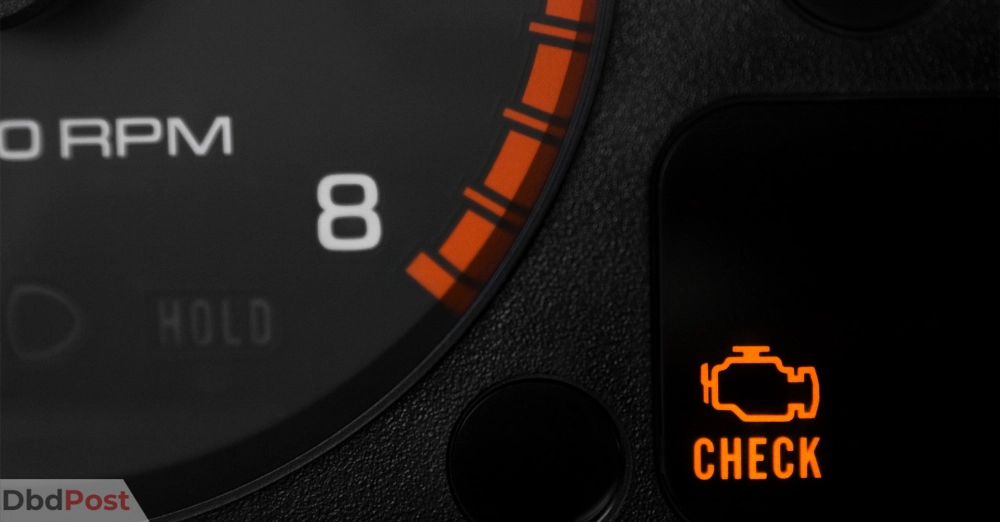
The check engine light in your Honda is designed to indicate a problem with your car’s engine or emissions system. It could be caused by a minor issue, like a loose gas cap, or a more severe problem, such as a malfunctioning sensor.
When the check engine light is flashing
If you have a flashing check engine light on your Honda, it indicates a serious problem that requires immediate attention. This could mean your engine is misfiring, which can cause damage to your catalytic converter. If this happens, you should stop driving immediately and have it towed to a mechanic for car maintenance.
When the check engine light is steady
If the check engine light on your Honda is steadily on, it could indicate a minor problem or a more serious issue. This could range from a loose gas cap to a faulty sensor. Having the trouble diagnosed by a mechanic is essential, as ignoring it could lead to more significant issues.
In either case, addressing the issue causing the check engine light as soon as possible is important. Have your car inspected by a mechanic to determine the cause of the problem and have it fixed before it leads to more significant issues.
Common causes of a Honda check engine light
Honda engines, from mini 4-stroke to the iGX series, are uniquely built for exceptional performance. [1]Engines Honda, “Why Honda, … Continue reading Their compact size and intelligent power set them apart.
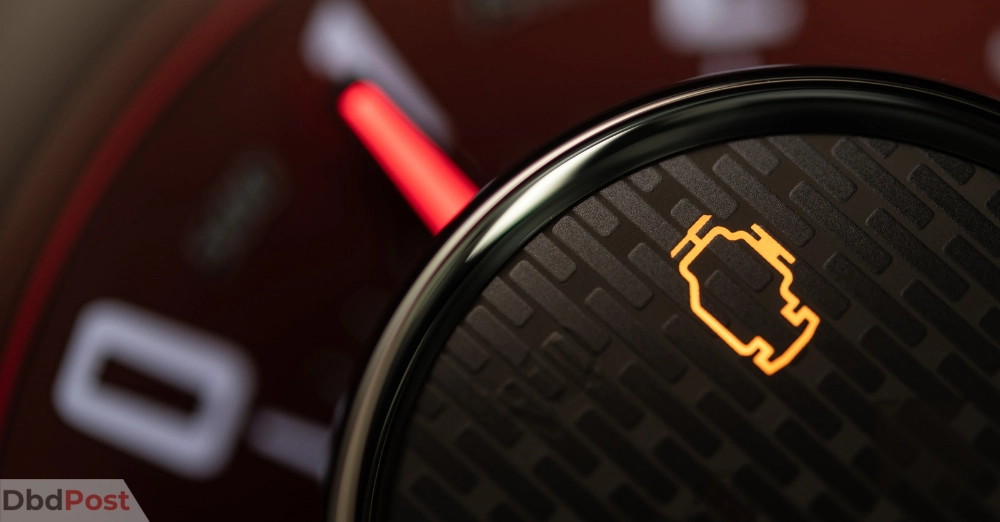
When the Honda check engine light comes on, it states various problems related to the engine or emissions system. Here are some of the common causes:
- Faulty oxygen sensor
- Damaged or loose gas cap
- Malfunctioning ignition coil
- Failing catalytic converter
- Problems with the fuel tank or fuel injectors
- Issues with the spark plugs or spark plug wires
- Low engine oil pressure or low oil level
- Defective mass airflow sensor
- Problems with the exhaust system
- Faulty engine control unit
If the engine malfunction indicator comes on, you could experience reduced performance and low fuel economy. Additionally, the catalytic converter should be replaced if it fails. It turns carbon monoxide emissions into carbon dioxide.
Moreover, fixing these issues correctly is crucial to avoid further damage and ensure the vehicle performs optimally.
What to do when the Honda check engine light comes on?
If your engine light flashes on your Honda, immediately take it to a mechanic. This will prevent damage to your engine and emissions system and keep your vehicle running smoothly.
Here are some steps to take when the Honda check engine light comes on:
Do not get panic: The check engine light may indicate a minor or more severe problem. Don’t ignore it, but try not to stress out.
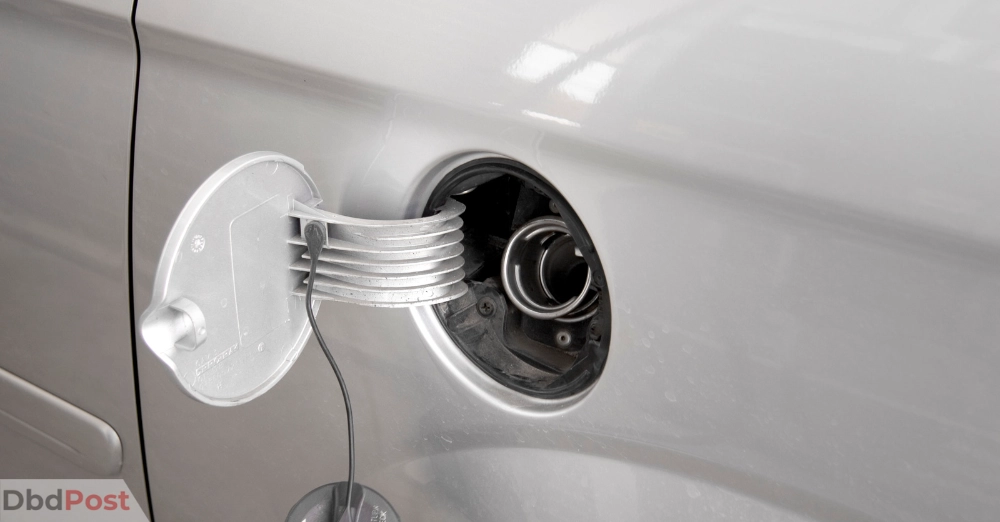
Check your gas cap: A loose or damaged gas cap can cause the check engine light to come on. Check that the cap is tightly secured and in good condition.
Inspect other parts: If the gas cap looks okay, there could be other issues causing the light to turn on. Check for visible signs of damage, such as worn-out wires or a cracked hose.
Scan for error codes: Take your car to an auto parts store or mechanic to have the error codes scanned. This will help you identify the specific problem.
Fix the problem: Once you know what’s causing the check engine light to turn on, address the issue immediately. Some problems may be easy to fix, while others require professional help.
Don’t ignore the problem: Even if the car seems to be running fine, it’s essential not to ignore the check engine light. Ignoring it could lead to more serious problems down the road.
How to reset the Honda check engine light
Once after fixing the issue that causes the Honda engine warning light to turn on, it’s essential to reset the engine light.
This will ensure that the engine light flashing stops and prevent any confusion. Additionally, resetting the engine light helps identify any new issues that may arise in the future.
Here is a detailed guide on how to reset the Honda check engine light for the smooth running of the vehicle:
Step 1: Turn off the engine and all the accessories
Before resetting the check engine light, it’s important to take safety measures. First, turn off the engine and wait a few minutes for it to cool down to avoid any risk of burns.
Step 2: Open the hood of the vehicle and locate the battery
Usually, check under the hood or in the trunk to find the car’s battery. However, remember that the exact location may vary based on the car’s make and model.
Step 3: Disconnect the negative terminal of the battery
To avoid accidental shocks or electrical problems, start using a wrench or socket set. With those tools, loosen and remove the negative terminal on the battery. Besides, be careful not to touch the positive terminal with that tool.
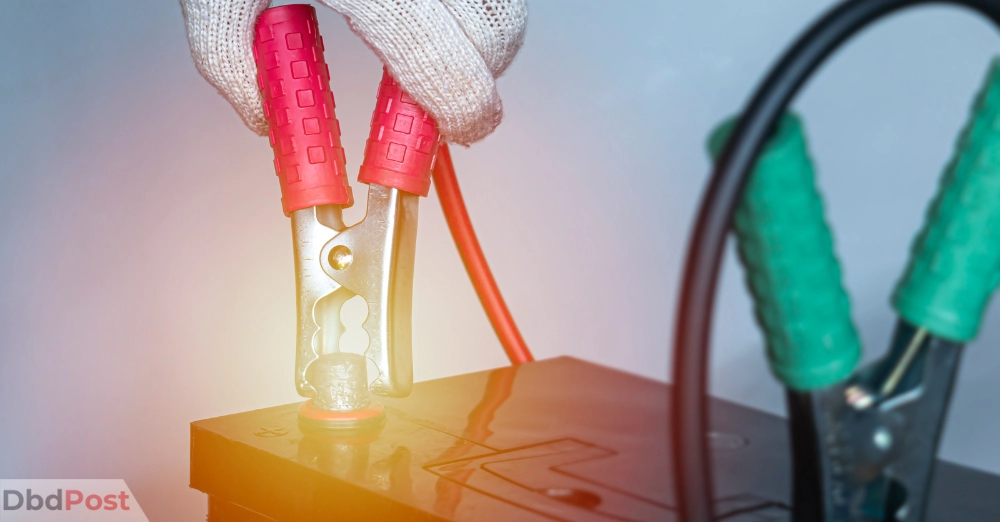
Step 4: Wait for a few minutes
After disconnecting the battery, wait for a few minutes. It helps to ensure that there is a discharge of any residual electricity in the system.
Step 5: Reconnect the negative terminal of the battery
To reset the Honda check engine light, reconnect the negative battery terminal. While connecting, make the secure checking of the terminal.
Step 6: Start the engine and let it run for a few minutes
After resolving the issue with your car, start the engine and let it run for a few minutes. This will help you verify that the engine is working properly.
Step 7: Check for any warning lights
After resolving the issue that triggered the check engine light in your Honda, check the dashboard for any warning lights. If the check engine light is off, the system has been reset successfully.
Related Stories
- Find out everything about Honda Tune Up Cost with our guide.
- Check this guide to know everything about Nissan Tune Up Cost.
- Check this guide on Hyundai Check Engine Light – here.
- Find out everything about Jeep Tune Up cost with our guide.
- If your Volkswagen Check Engine Light is on, check our guide for steps to fix it.
FAQs
Can I continue to drive my honda with the check engine light on?
Driving your Honda with the check engine light on is not recommended. The light signals an issue with your engine that requires fixing. Experience safe drive after fixing the engine light.
How do I reset the check engine light on my honda?
If the check engine light is illuminated in your Honda, resetting it using an OBD-II scanner or disconnecting the battery for a short period is possible. However, it’s crucial to address the root cause of the issue before resetting the light.
The Honda check engine light is an important warning system that notifies of any problems with the vehicle’s engine. We hope our guide has provided you with the requested information about the Honda warning light.
- 107shares
- Facebook Messenger
About the author
DbdPost Staff is a team of writers and editors working hard to ensure that all information on our site is as accurate, comprehensive, and trustworthy as possible.
Our goal is always to create the most comprehensive resource directly from experts for our readers on any topic.
